
Home › Using OPSAVOR
Getting started
Sign in, add your restaurant's first documents, and confirm what OPSAVOR read. About ten minutes.
Use the restaurant address in your invitation. The public demo uses sample data and is separate from your workspace. Check which experience these guides describe.
Signing in
Your restaurant has its own address, such as yourname.opsavor.app. Open it in any browser, on a computer or a phone.
If your company uses a social sign-in, the sign-in page shows a Sign in with Google, Apple or Facebook button. It is the quickest way in, and you do not need an OPSAVOR password: you sign in with the account you already have. Use it whenever it is offered. See Signing in.
If there is no social button, sign in with the email and password you were given. If you were invited by email, follow the link in the invitation to choose your own password.
Ask the owner of your account to set a new one for you under Team. If you are the owner, contact OPSAVOR support and they will do it. If you sign in with Google, you have no OPSAVOR password to forget.
The Start page
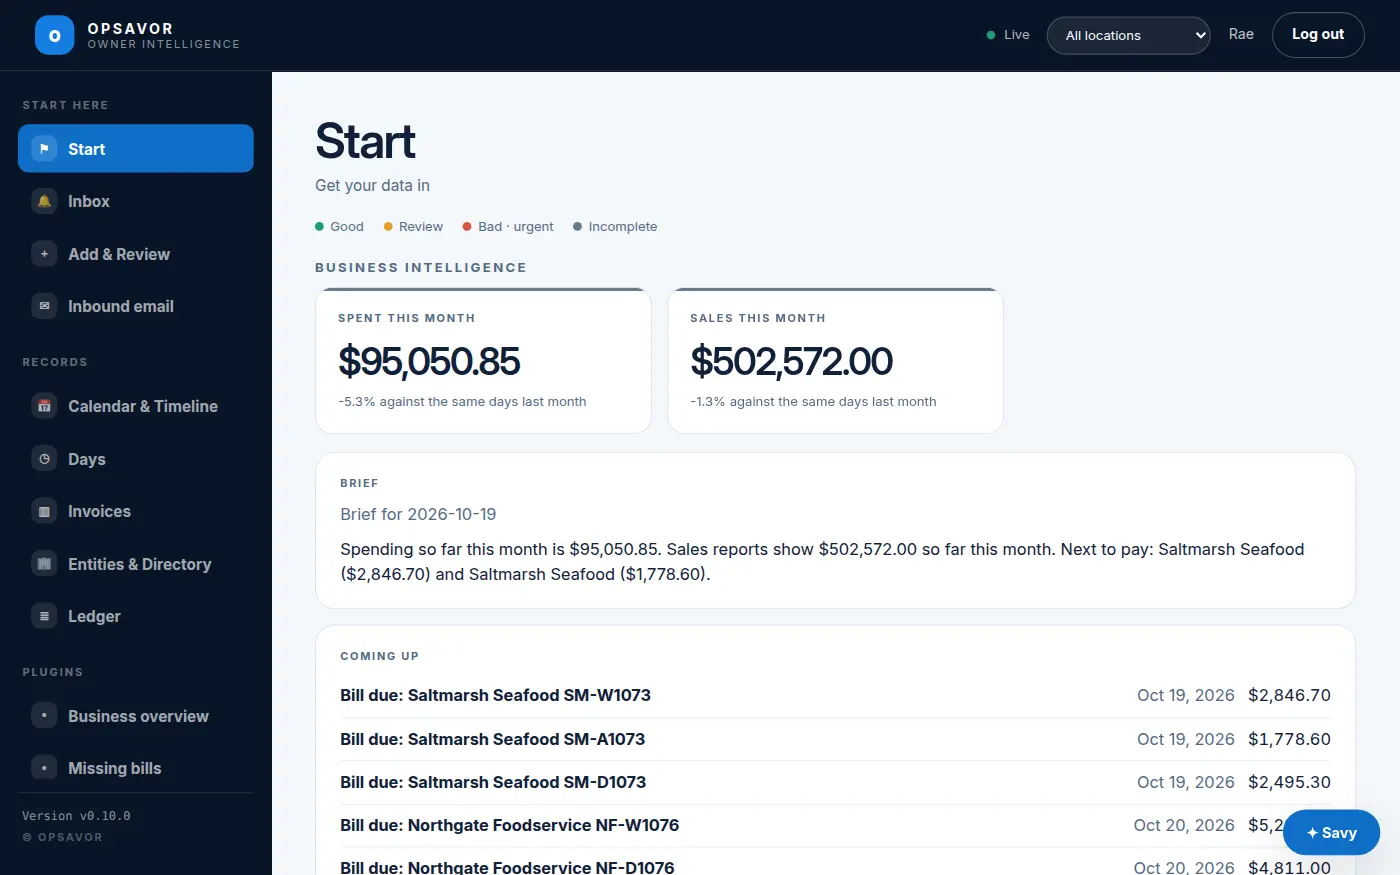
The first thing you see is Start. It is a short checklist that gets your data flowing, and it tells you what to do next so you never have to guess.
- Add your restaurant. A name is all that is needed. This is usually done for you.
- Connect a source. Email intake or a manual upload gets data flowing. See Adding documents.
- Send your first report. A daily sales report, a photo of an invoice, or a statement.
- Confirm a reading. Nothing counts until a person confirms it. See Reviewing and confirming.
- Complete a first week. Seven closed days on file with no gaps. Plugins, such as the daily Brief, work from the same records.
After setup: your daily review
Start is the setup checklist, and the home of plugin cards. Once your records are confirmed, check Start for cards such as the daily Brief from the Business Intelligence plugin, and open the pages under Plugins for more. Follow the evidence into your records, and ask Savy when you need an explanation. This is a suggested review routine; it does not change which page your release opens first.
Finding your way around
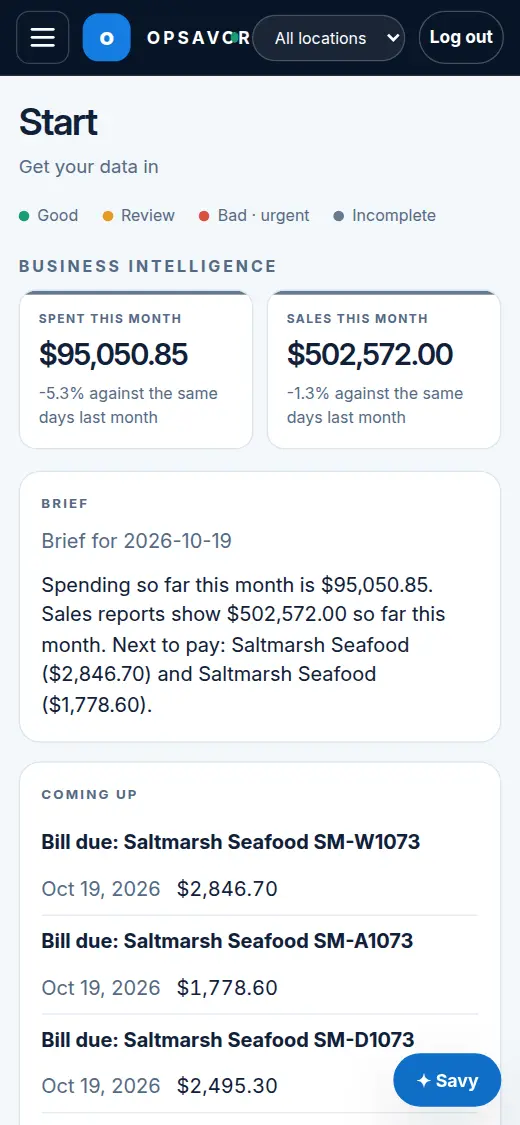
The menu is on the left on a computer and runs along the top on a phone (swipe it sideways). It is arranged the way you would use it:
| Group | Pages | What they are for |
|---|---|---|
| Start here | Start, Add & Review, Inbound email | Getting data in. |
| Records | Calendar & Timeline, Days, Invoices, Entities & Directory, Ledger | Reading what happened. |
| People & Staff · Operations & Commercial · Connected Workspace · Financial Intelligence | One page for each plugin that has one, grouped by suite | Insight from the plugins you use. A section appears when a suite has an app you can see. |
| Manage | App Store, Banks, Team, Settings, Plugins | People, locations, add-ons and preferences. |
You only see the pages your role allows (see who can do what). Savy is the blue button at the bottom right of every page.
The colours mean the same everywhere
Under every page title is a small key. It is the same on every page, so you only learn it once.
- Good as expected, nothing to do.
- Review worth a look, but not urgent.
- Bad · urgent needs attention now.
- Incomplete some data is missing, so OPSAVOR will not guess.